01 - The Editor
Installing Unity
The first step on your journey is to download and install Unity. While you could just head to Unity.com and grab the latest and greatest version of Unity, I would suggest getting the Unity Hub. The Unity Hub will help you manage your projects and the versions of Unity you have installed on your machine. As you dive deeper and deeper into Unity, the day will come, where you hear of an additional feature and you want to explore it. Then you can install any additional version through Unity Hub and easily get rid of older ones. It will also remember in which version you opened a project. But just grabbing the current version is just fine. If you go for the latter, choose an “LTS” version, like 2019.4. LTS is short for longtime support and these are the most stable. As a beginner you don’t want to concern yourself unnecessarily with bugs.
I will assume you will download and install Unity Hub yourself. So let’s look at managing Unity Versions and Projects with Unity Hub. On the “Installs” tab, Unity Hub will tell you you don’t have a version of Unity installed. Thus click on the “Add” Button in the upper right corner.
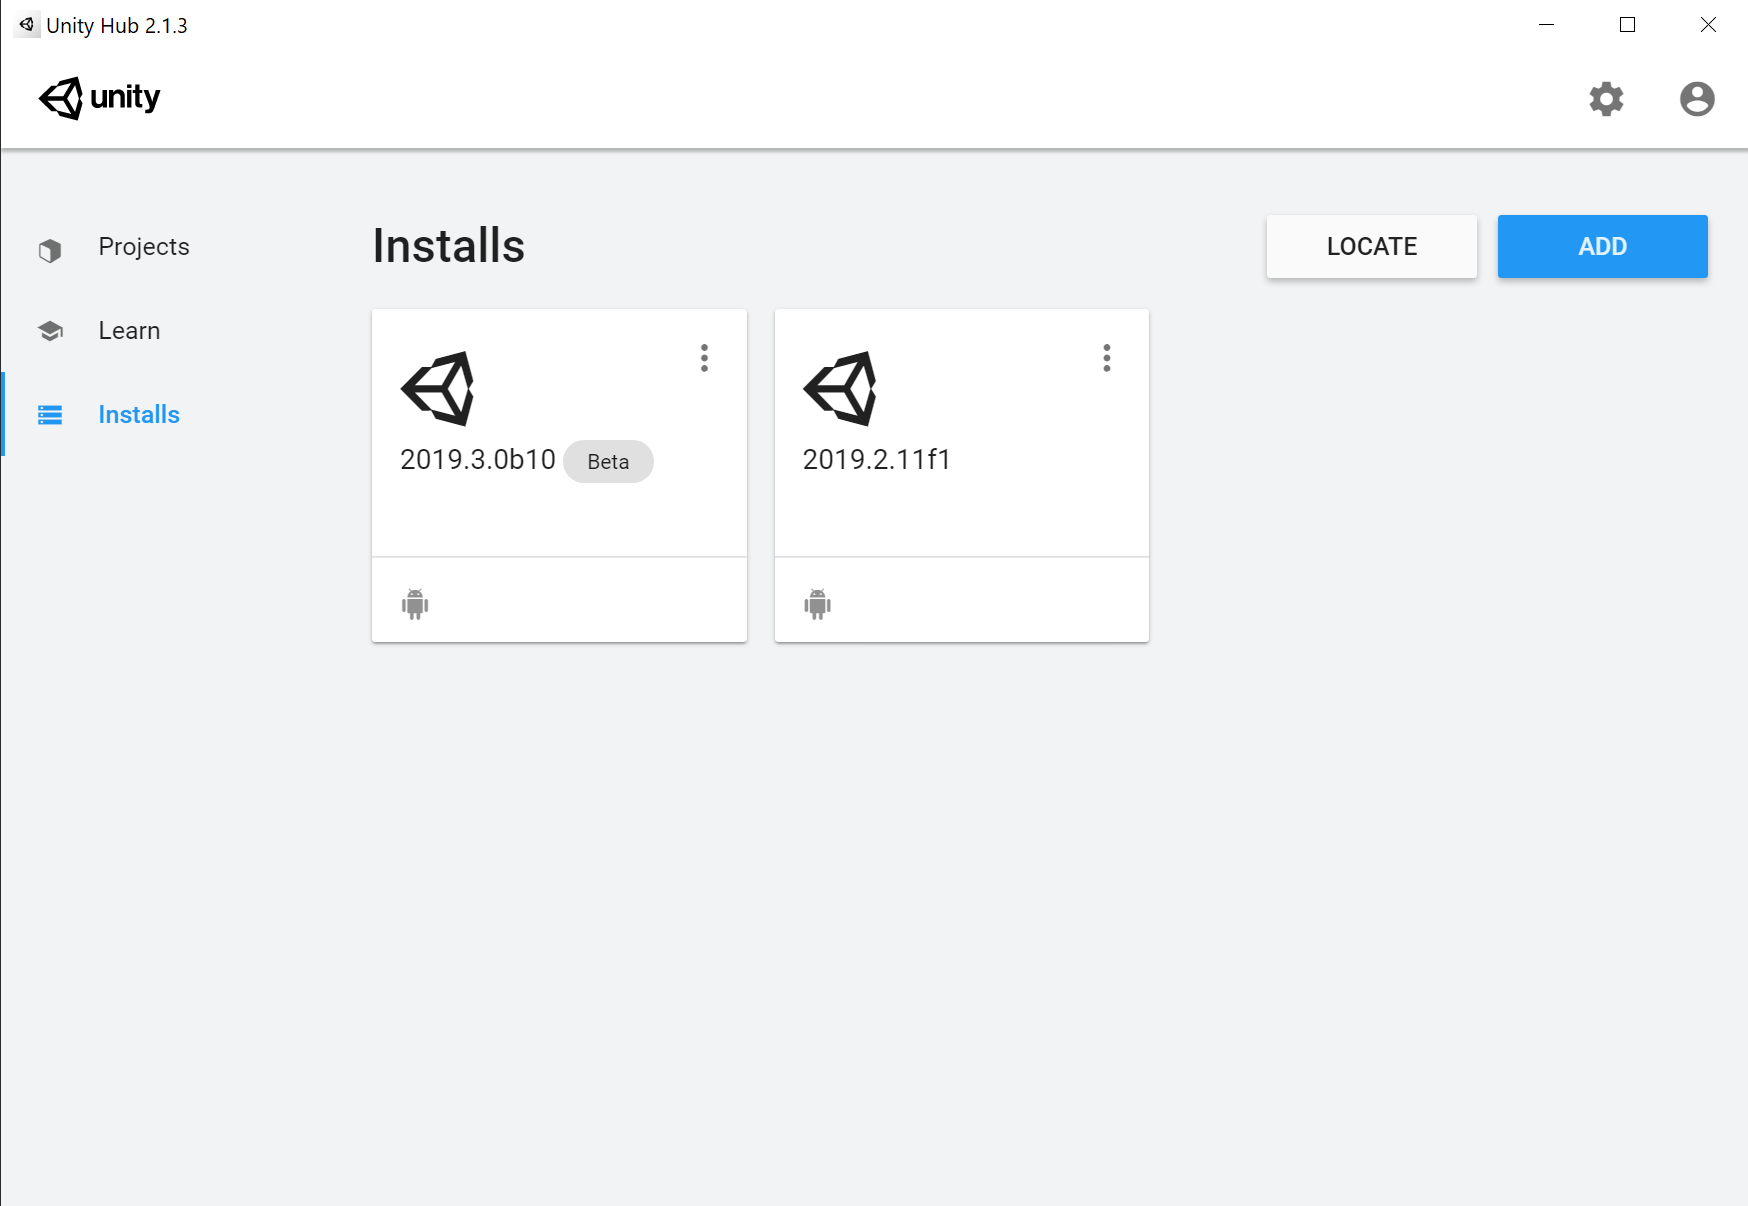
Installed Unity versions in UnityHub
In the next menu, you can just go with the version Unity Hub suggests, which will be the latest stable release. On the following one you can make some choices. Unity offers support to export to multiple platforms, but if you don’t want to code for e.g. Facebook, you need not waste space for their Source Development Kit(SDK). But you should check the checkbox with “Microsoft Visual Studio Community”. This will be our Code Editor. Click Next and let Unity do its thing.
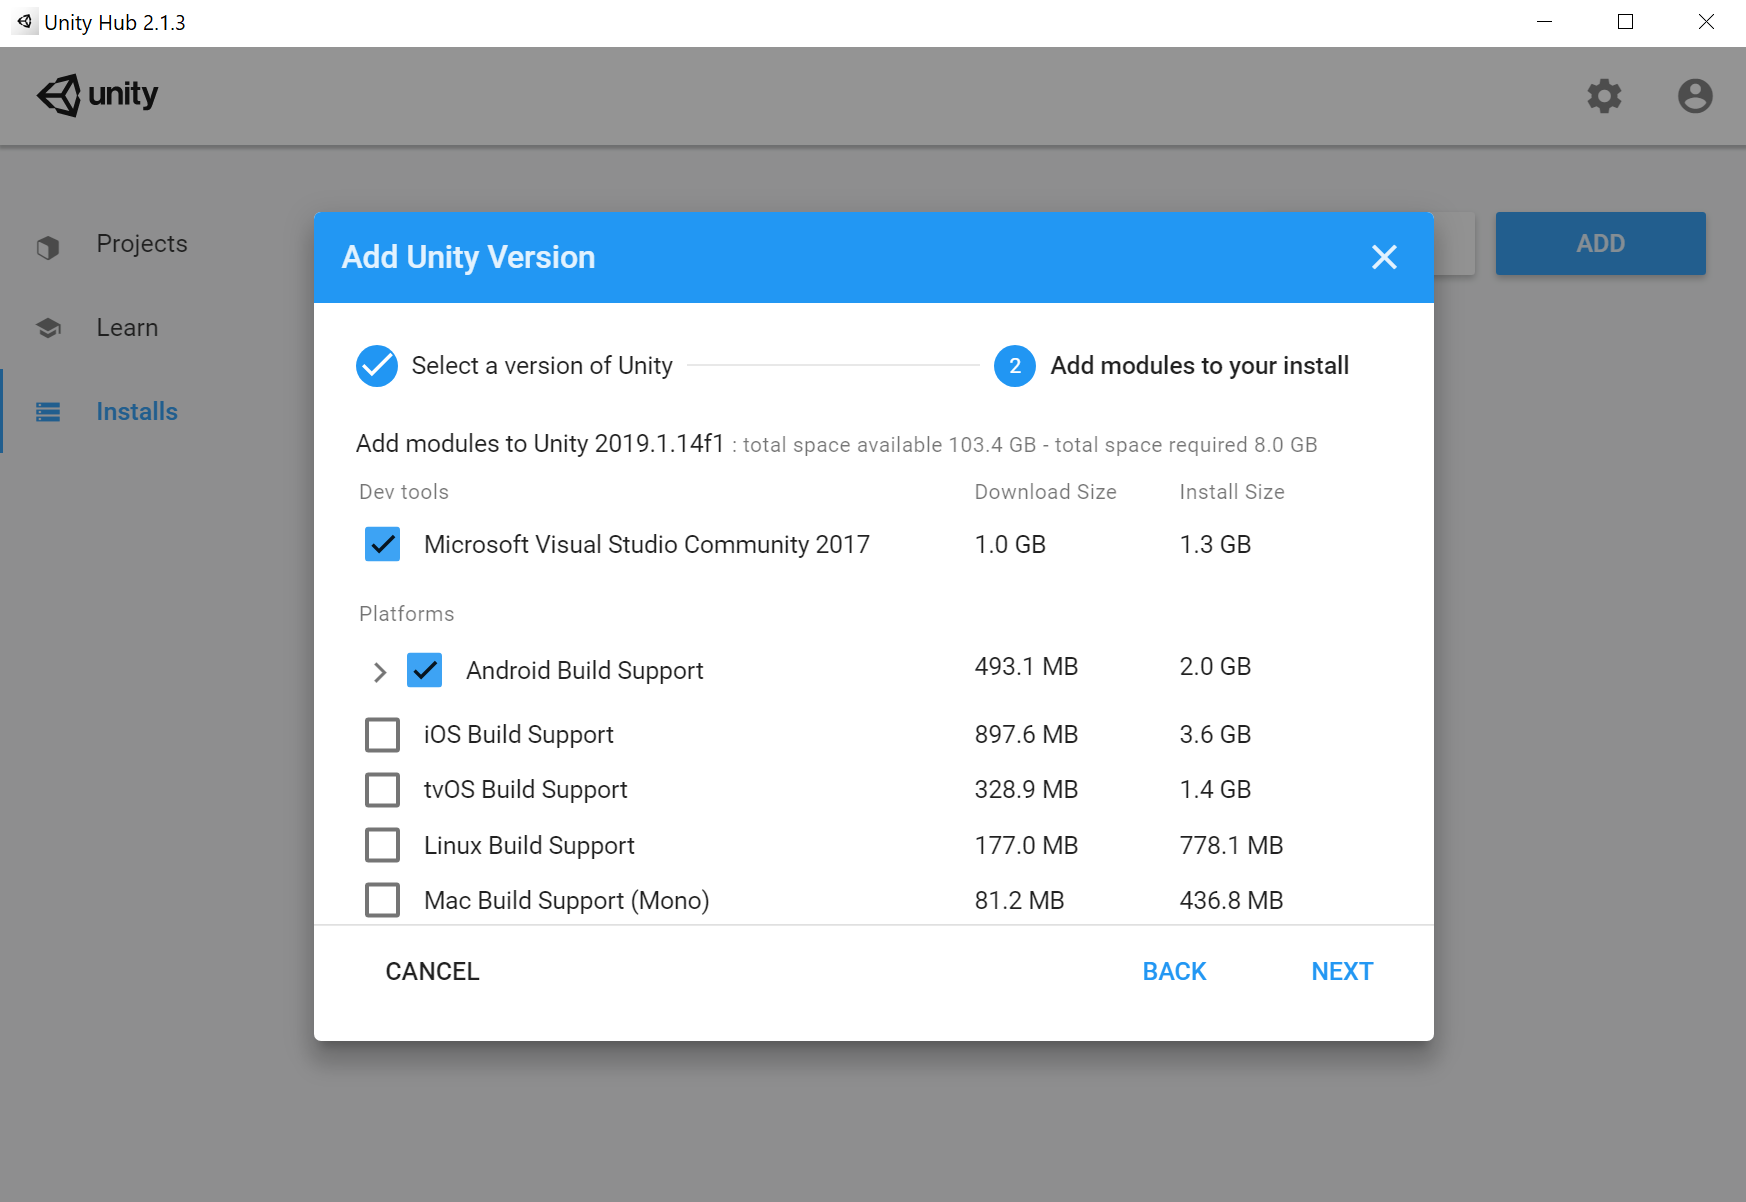
Additional Options to install
Under “Projects” Unity Hub will show you all your latest projects. If you don’t have one, just press the “New” Button to create one.
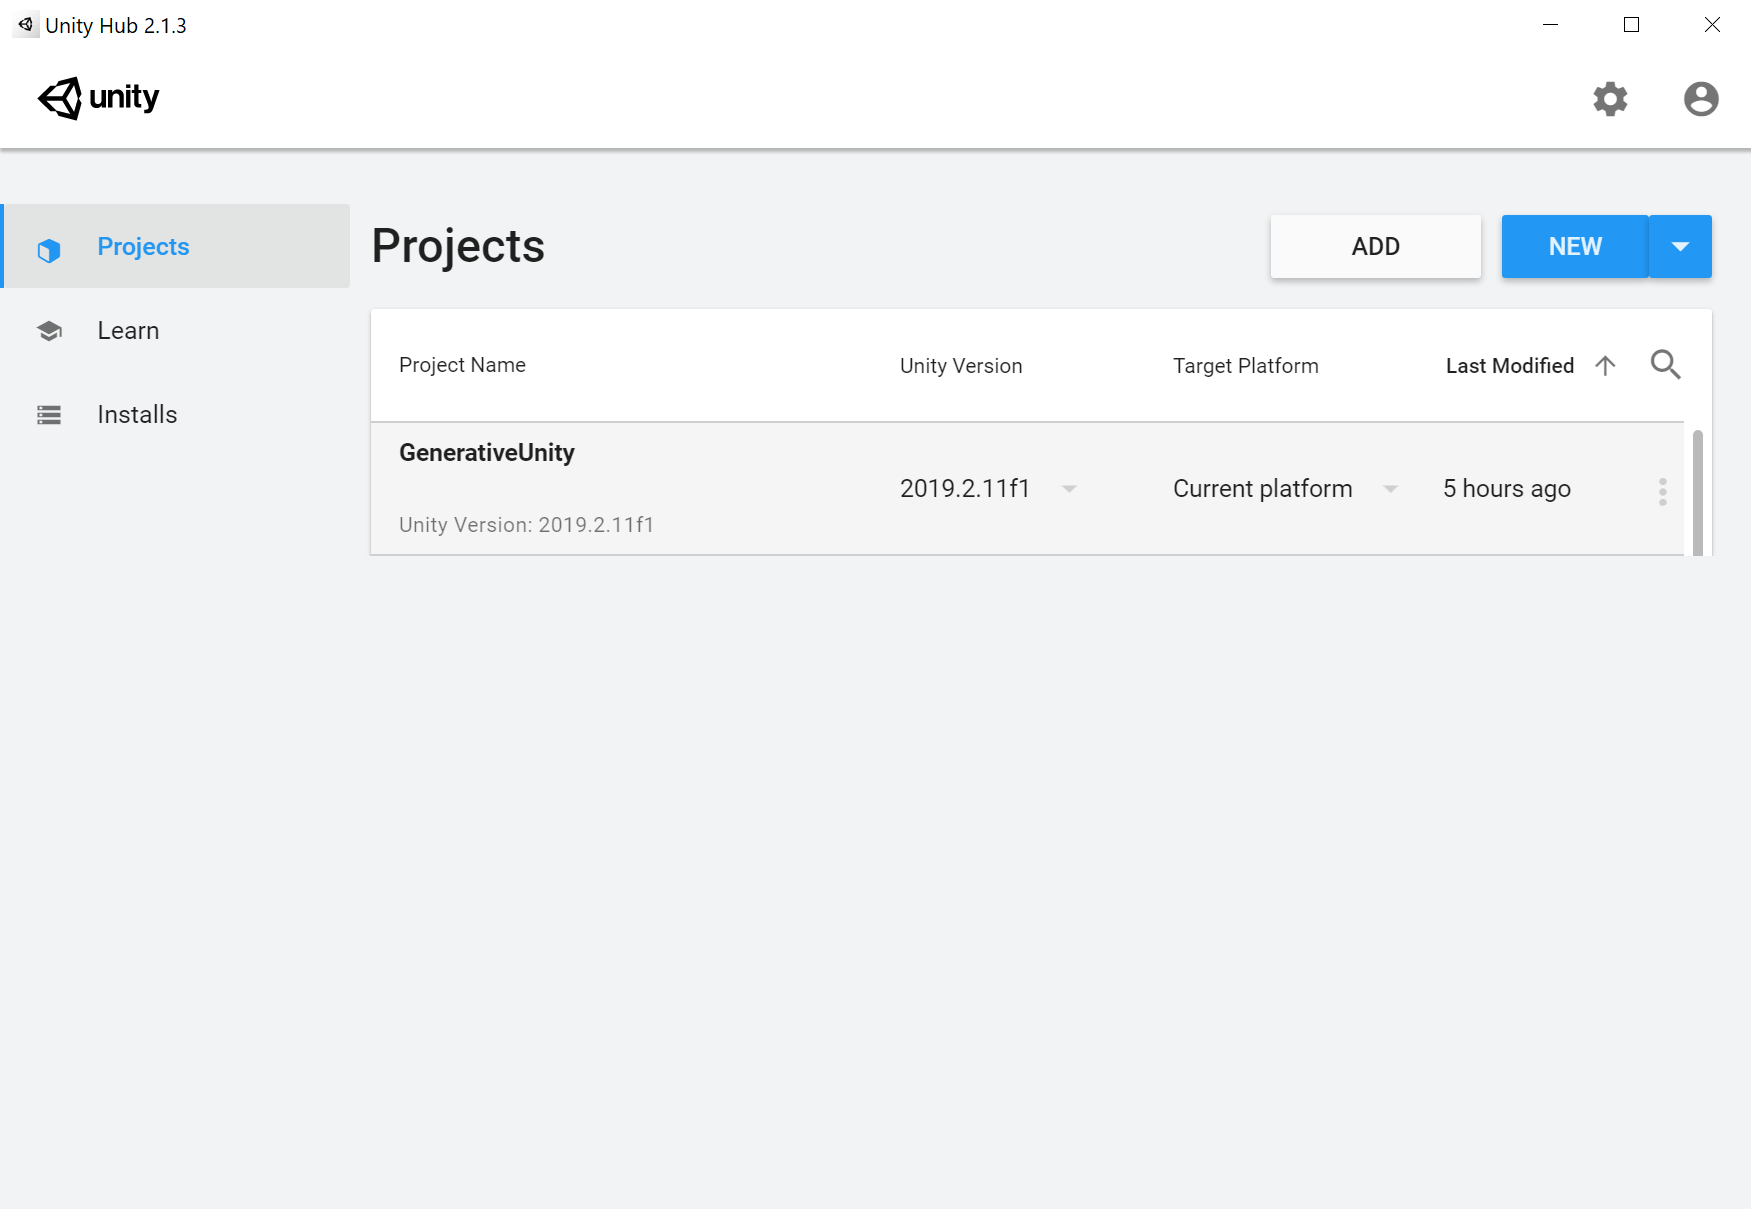
Unity Hub Projects Window
In the next panel, you can set the project name and the location where to store your project. Unity Hub will create a folder with your chosen project name. So no need to create that folder yourself. You will also have to choose a Template. “3D” is the default option. You will also have options for “2D” and - depending on the version you installed - for “Lightweight RP / LWRP” or “High Definition Renderpipeline / HDRP”. Again depending on your version, Lightweight Renderpipeline could also be listed as “Universal Renderpipeline”. Sooner rather than later this will become the default choice. Yet we will go with the classic “3D” version for now. Hit create and Unity will take a while to initialize your new project and start up the Editor.
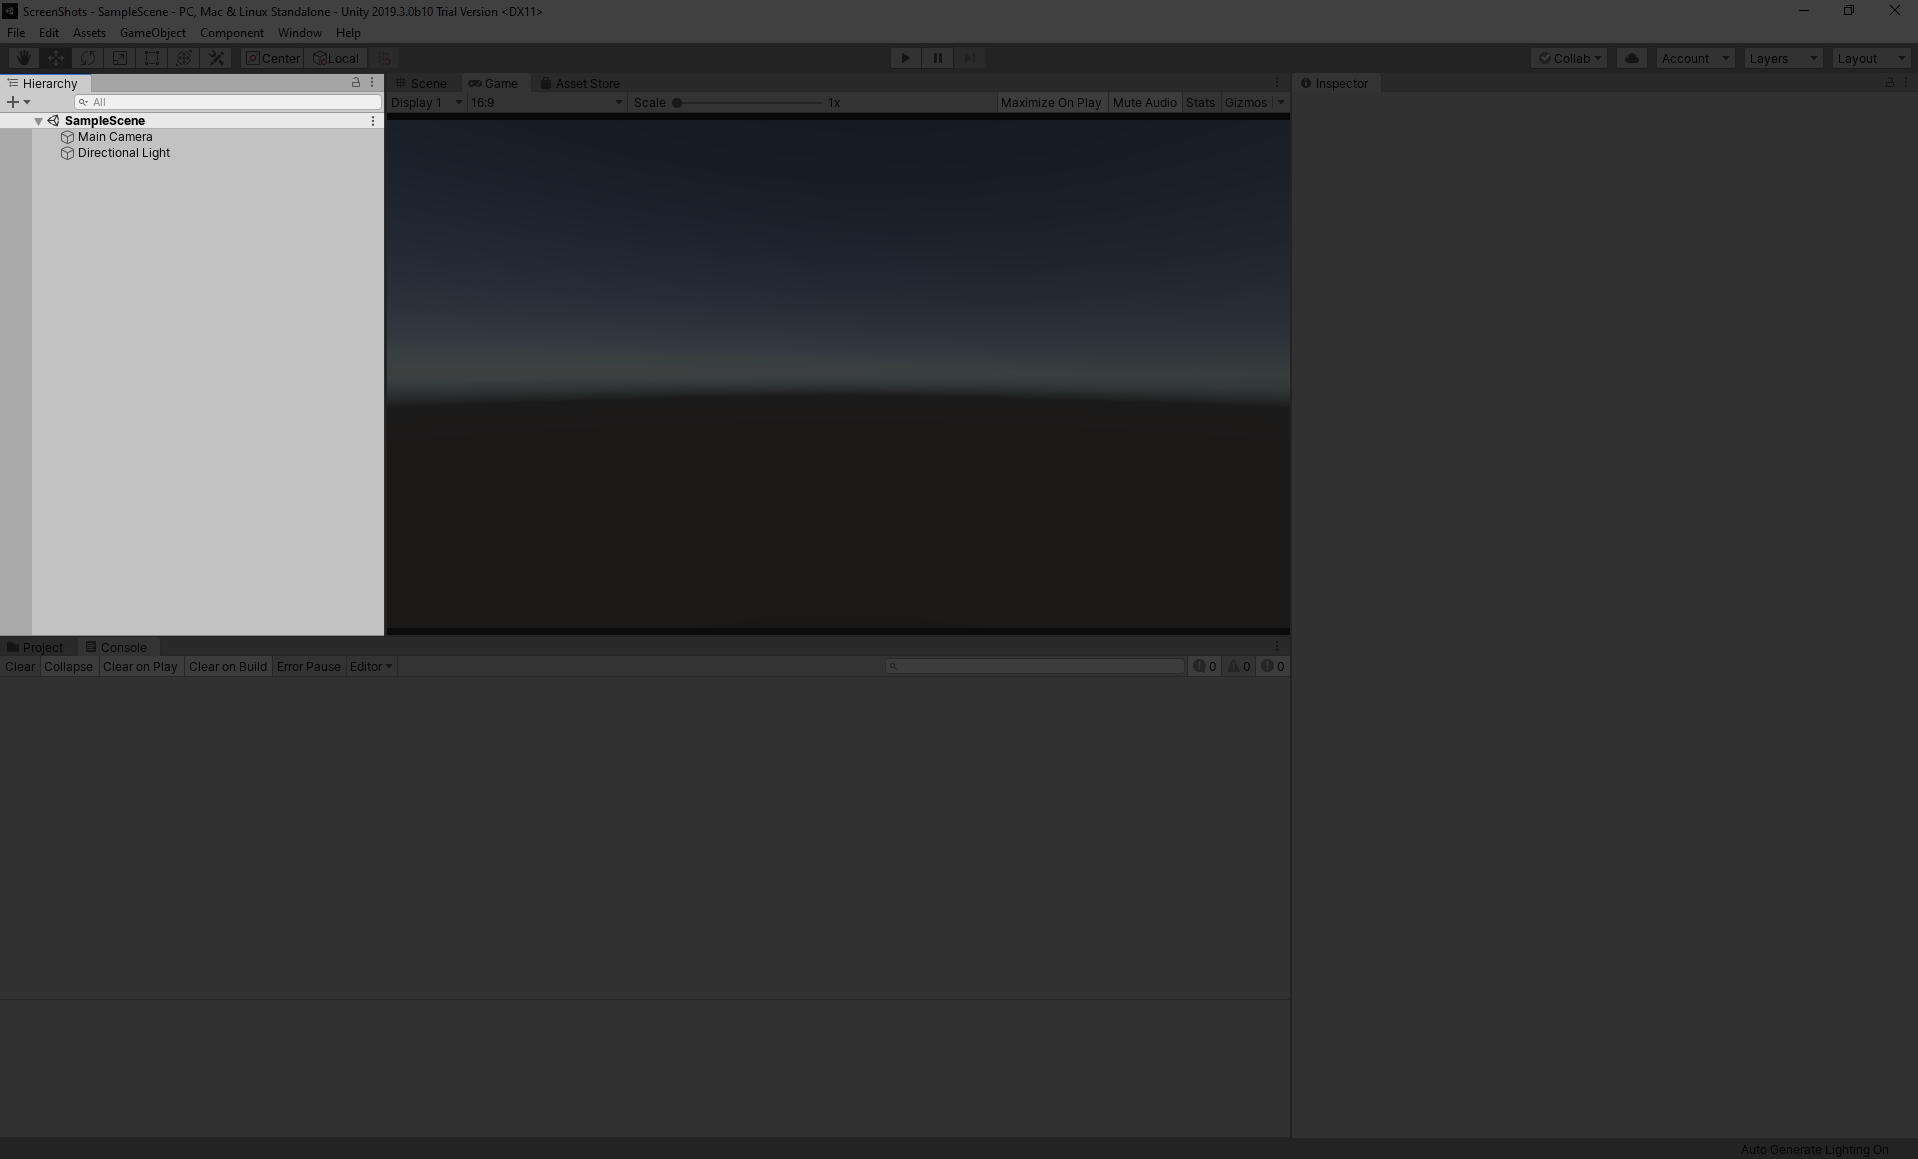
Once Unity opens up, you will see something like this:
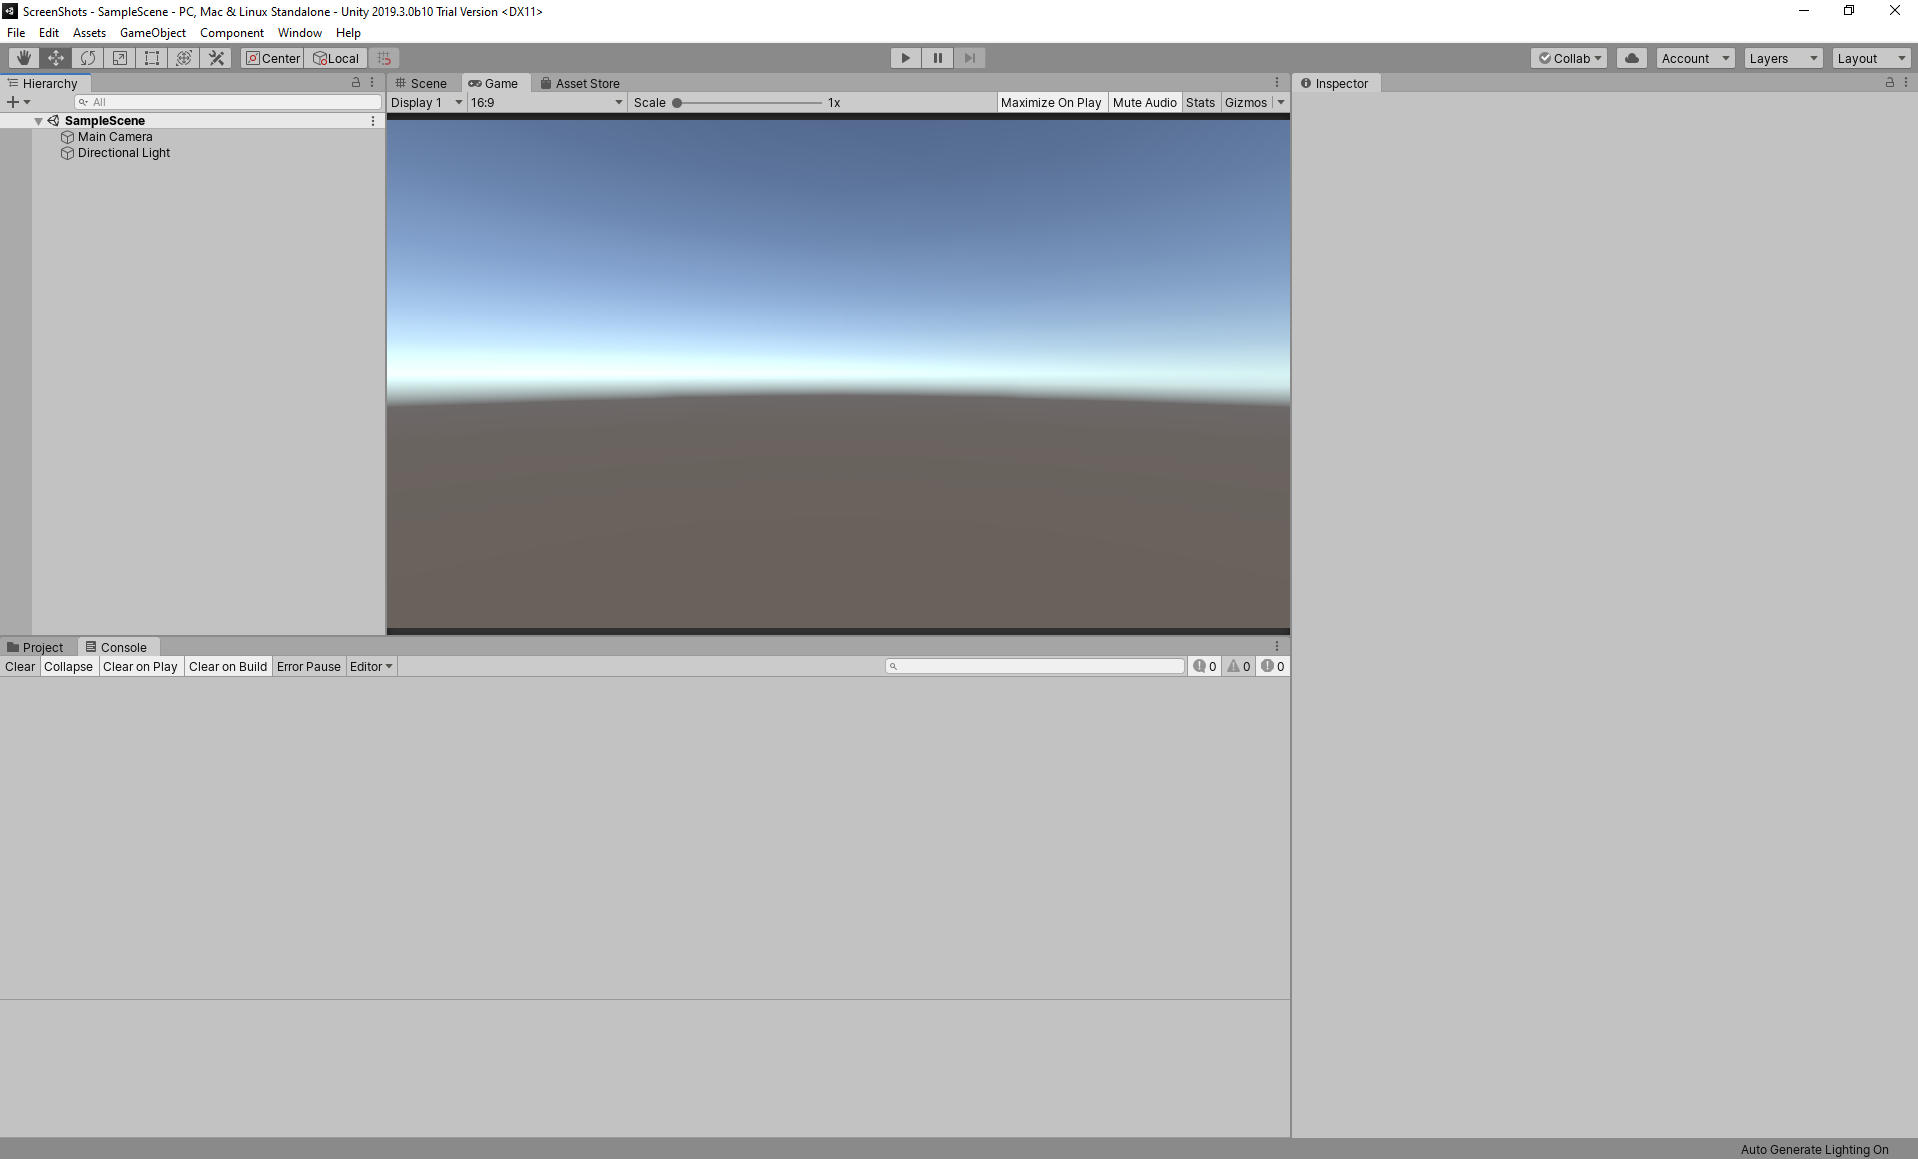
Standard Unity UI
Unitys “default” layout is divided in roughly 4 parts.
The Hierarchy Window shows all the Objects that are present in your scene. Using the black arrows, you can collapse or expand the hierarchy depending on your needs. On the top you will also see a drop-down arrow, because Unity can open multiple scenes at once.
The Hierarchy View
The “Project” window holds all objects inside your project. You can browse this just like any directories in your operating system. You can also create folders to organize yourself. If you were to browse to your project folder on your hard drive, you would see this structure inside the “Assets” folder. Name all your files and folders from the get go, because things can get messy real quick and not taking care of your folder structure can end being a major source of frustration further down the line. Using right click you can copy, paste, duplicate and even create new Objects. Info about the selected object will show up in the Inspector. (See below.)

The Project View
The “Inspector” window shows you information on the selected object. This information comprises so called “Components”. While every Object will have a “Transform” component the rest of the list will differ. We will look at a lot of components in this book. Just remember where to find them.
The Inspector View
The “Scene” view is your portal to view you current Scene. Here you move around and manipulate the objects in your scene using “Gizmos”. To move around in the scene view, you need to remember three shortcuts:
Alt + Left-click Drag to rotate
Alt + Right-click Drag to zoom
Alt + Middle-click Drag to pan the camera
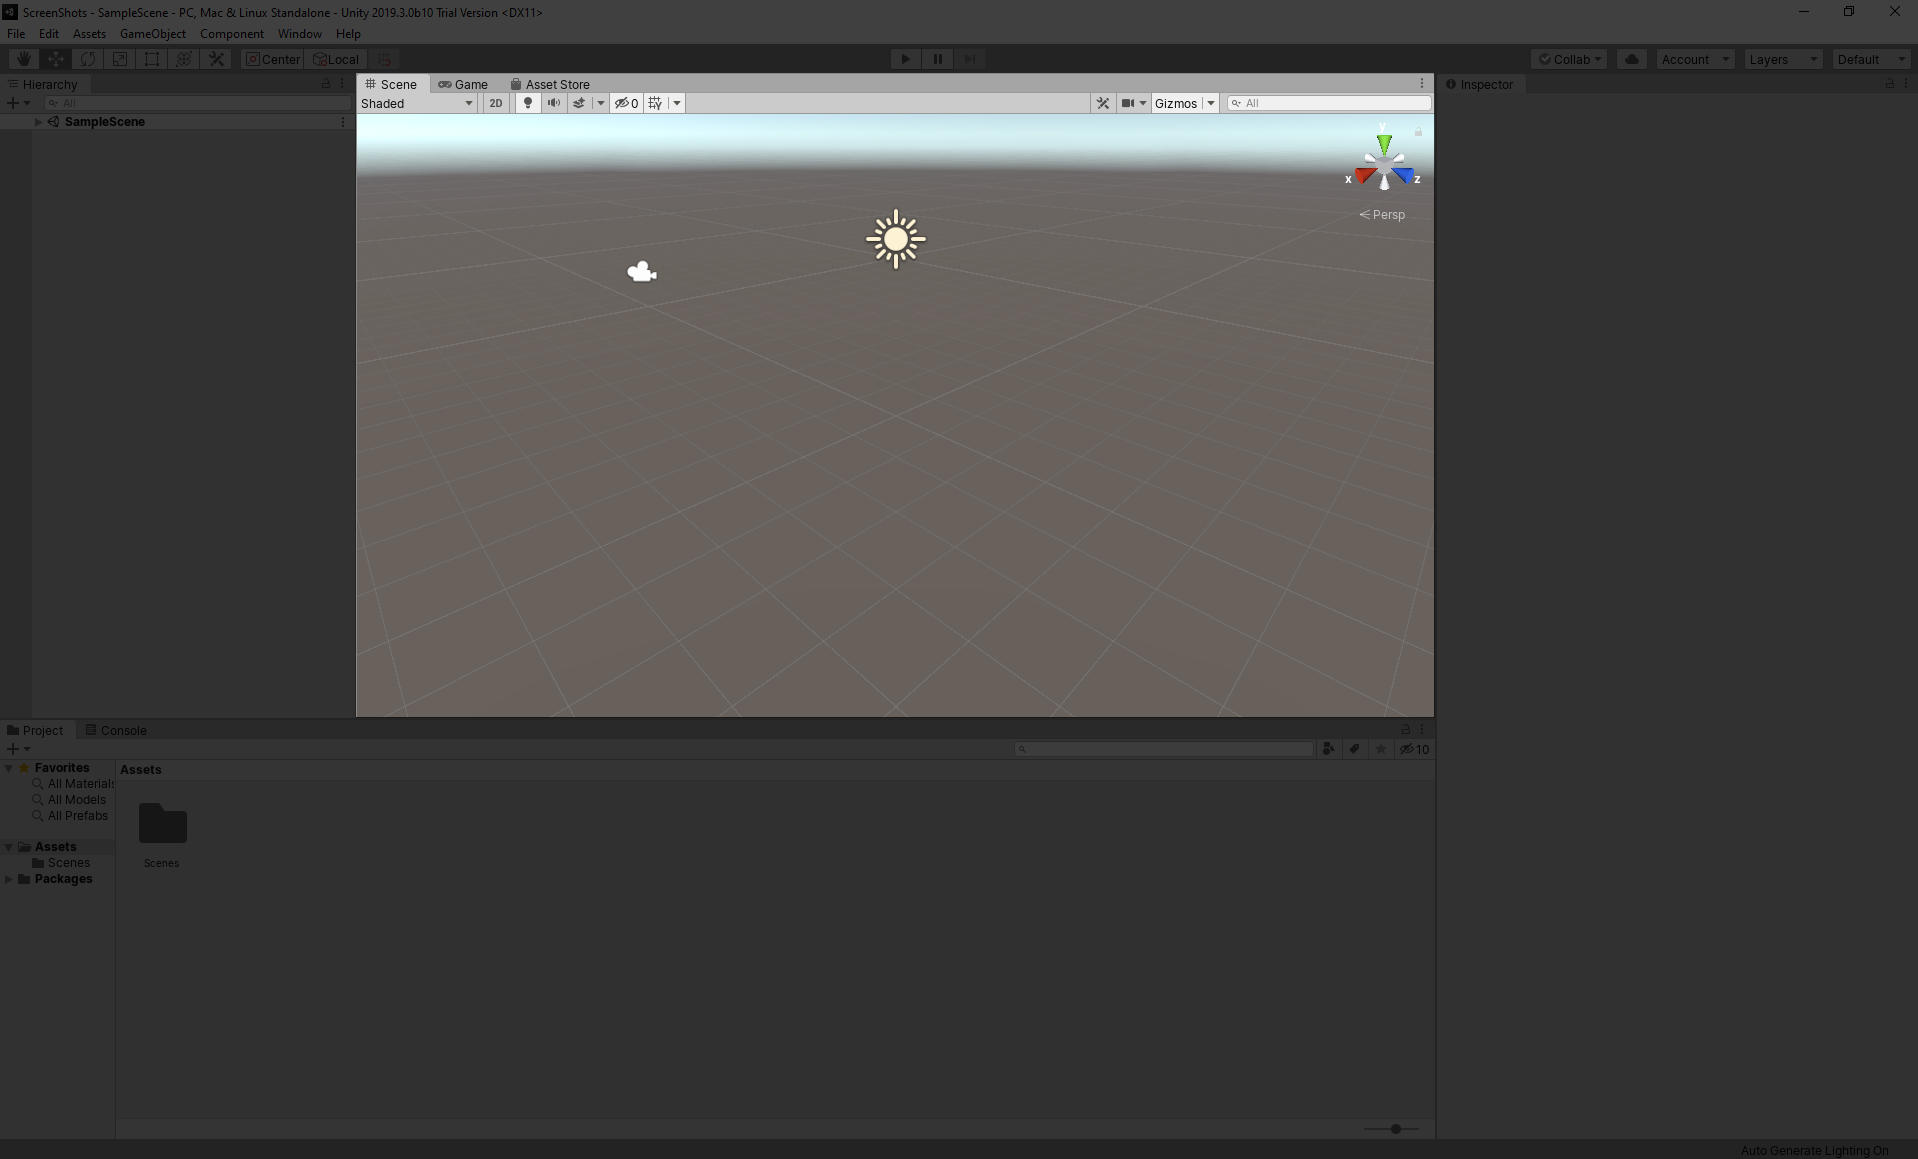
The Scene View
Once you select and Object using left-click, a gizmo will appear. The default should be the “move” gizmo. Hover over one of the axis and left-click-drag to move the Object along the selected axis. There are also tools for Rotation and Scale. To switch between these three you could use the buttons on the upper left toolbar. But you shouldn’t. Try to get used to these shortcuts:
W - Move
E - Rotate
R - Scale
There is also an alternative way to move around the viewport. If you hold down the right mouse button four squares will appear. Now you can look around by dragging the mouse and move around using the WASD keys. You can try both navigation styles and see which one fits you best.
Introducing the Bauhaus
When I started writing this “book” I asked myself what kind of “sketches” or projects I should create. Working in 3D is a complex manner, and most of the time relies on external assets. But some of you may not have the possibility to download and install them. And while many readers will have some knowledge about how to create 3D assets themselves, I don’t want to rely on that. So what to do? Well, the answer was just all over the place. 2019 – the year I started writing – is the “Bauhausjahr”. The year which marks the 100th birthday of the Bauhaus movement. And while the Bauhaus isn’t that easy to pin down and I am not an art historian by any means, there were things to extract for this book.
The Baushaus focused on reduction to simple shapes and are popular for their Triangle, Rectangle and Circle logo. All of them shapes we can easily create in a 3D software. Most of them come as “Primitives” in a 3D package. Even more so, 3D engines built all objects from triangles! The extreme geometric reduction in the works of the Bauhaus often built on patterns and structures, things we can easily recreate using code.
And while all of this was convenient, the thing I consider being most important is experimentation. Many of the teachers at the Bauhaus encouraged their students to experiment. This spirit I’d like to pass onto you. With all the things we create, play around, try things, break things. It is the best way to learn.
Homage to the Cuboid
One teacher at the Bauhaus was Josef Albers. In his book “Interaction of Color” he describes how he had students collect colored pieces of paper and combine these by layering them on top of each other. The idea was to help students understand how they interact and how they change their appearance based on the colors beneath them. This culminated later in his series of paintings “Homage to the Square”. (Look them up!)
This idea will follow us throughout this book. It will allow us to work quickly, iterate and experiment as much as we can with one simple idea. I think dealing with such a simple sketch is great, because it forces you to become creative and iterate and find as many new variations form one ideas as possible. It will also work well with coding and you don’t have to install or download anything besides Unity. I hope you enjoy playing with this as much as I did writing.
Other sketches
Now I know that there are many people who are not so much into the Bauhaus. And to be honest, while I am fascinated by their ideas, there are many works I don’t “dig”. Thus for each chapter I will try to create an alternative project for you to build. The best thing is to check out both! But for these alternative sketches you will have to download additional assets. Free of course.
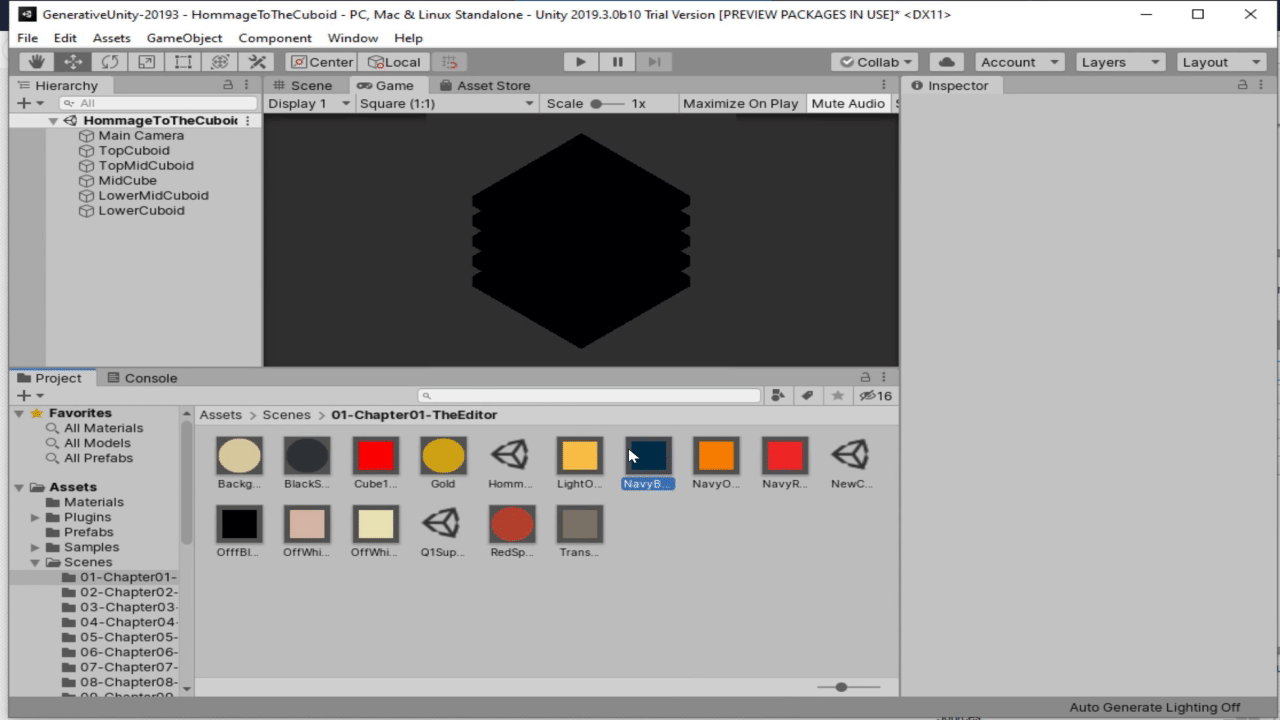
“Homage to the Cuboid” in Unity

Homage to the Cuboid
In this chapter we will create our own “Homage to the cuboid” as shown above. As you can see this will be a rather simple thing to create: We need to create five cubes and scale and position them. But we will also need a material for each of them. And we need to place our camera.
But first things first. Create a fresh scene using ctrl + n. You can delete everything from the new scene except the camera. This will change the background color, as Unity just lost the light source it considered to be the sun. We will deal with this later.
Next create two cubes. You can do this by either creating them from the Menu: GameObject ---> 3D Objects ---> Cube or by doing a right click ---> 3D Objects ---> Cube in the Hierarchy view. In the inspector set the Translation and Rotation for both cubes to 0. We will then use one Cube as a reference for a perfect cube and the other one we will squash down using the scale tool. I scaled it down to have a scale of 0.1 on the Y-Axis. You can then duplicate this cube 4 times using Ctrl + D.
Next just move them apart to recreate the image above. If you want to do it more mathematically you need to move in steps of 0.225. Once you are satisfied with your result, you can delete the reference cube.
Now we are missing color. Our cubes are black because we deleted the only light source in the scene and we don’t want to bring it back. We will use so called “un-lit” shaders for now. They will allow us to just pick colors. Lights in the scene will not affect them.
To create a material that works for us, create one from the “Assets” menu or in the project view using right click ---> Create ---> Material. After naming the material we need to change it to use the before mentioned shader. In the inspector find the dropdown at the top that says “Shader”. In it navigate to the UI ---> Unlit ---> Transparent Shader. You will face many options, but we concern ourselves only with the color. Choose one by clicking on the color field.

Assign Materials via Drag and Drop
You can then duplicate your materials and choose one color for each cube. To apply the materials to the cuboids you can simply drag and drop them onto the cuboids in the hierarchy or onto the object in the viewport.
Assign Materials via Drag and Drop
Now we will have to adjust our camera to match the example above. If you have Gameview and Scene view open next to each other, you can try to push the camera where you need it. But that alone won’t work, because I chose an orthographic view for my sketch. The orthographic view will render all lines in parallel and thus will ignore any perspective. I thought this might work better for our Bauhaus Homage. To change this, select the camera and select “orthographic” from the projection dropdown. And while we are here, we can also change the background color:
Set the “Clear Flags” to “Solid Color” and then select a Color of your choice. I went with a dark grey. And you’re done!
Projects
Bauhausian
Right now your focus should be to become familiar with the Unity editor and how to navigate in the 3D View.
Because Unity limits you to basic shapes out of the box, you could try to recreate one of the famous Bauhaus paintings. Many of these just use simple shapes, like cubes and circles. You can just use any of the 3D basic shapes as replacements for their 2D counterparts.
For Copyright issues I won’t examples here, but I think “Q1 Suprematistic” by László Moholy-Nagy could be something easy to recreate. Or paintings like “De Stijl” by Peter Keler. They both use only basic shapes in different sizes and you pretty much only need to concern yourself with the final 2D output and can ignore third. If you want more of a challenge, you could also try to recreate the “Stacking Tables” by Josef Albers. With these you could also try to create a hierarchy inside the Hierarchy view using drag and drop. This will become handy later.
Environment Design
In this second project you have a lot more freedom to create your own. I created an asset pack full of low poly Objects. These should be enough to create small environment scenes. Maybe you can even tell a story with your image. I suggest looking for inspiration and reference online.

Environment scene
Once you downloaded the asset pack drag and drop it into Unity. Unity will ask you if you want to import it and list all the items the asset pack contains. You could pick specific assets or go ahead and just import all of them. In most cases, you just want to import them all at once.
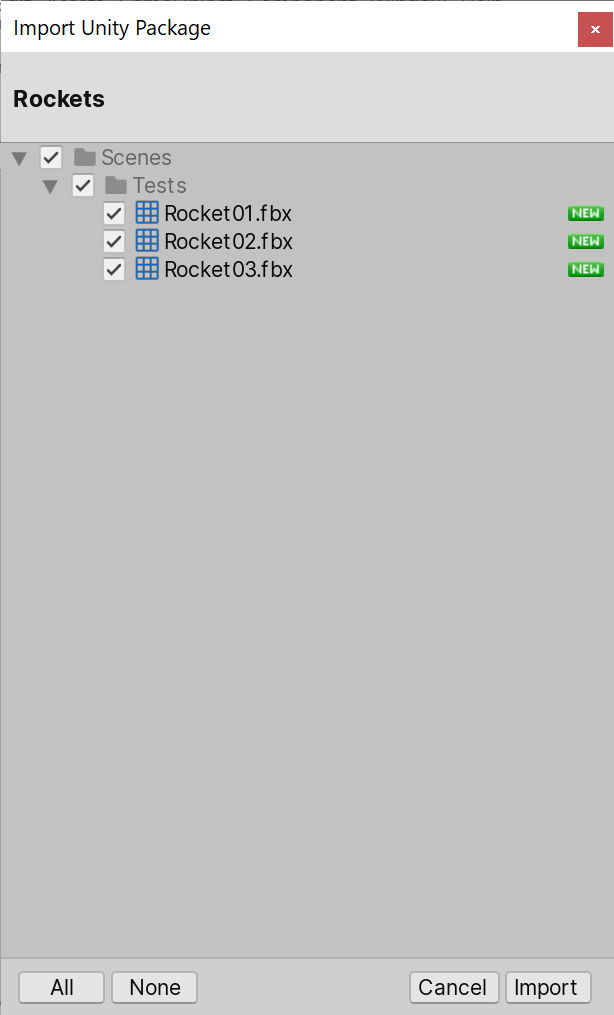
Import Dialog
Unity will also take over the folder structure of the asset pack.
Once they are imported you can just drag and drop them from the project view into the hierarchy or directly into the editor and place, rotate and scale them in any way you like.